How to create an HDR photo from a single image file
Although HDR photography has increased in popularity over the last few years, it is still very much a debatable technique. You either love it or you hate it.
Honestly, I have not been a big fan myself until recently. Very often I regard the final results to be overdone, surreal and even fake. I still feel that about a large number of HDR photos I see on the web.
However, after having viewed the works of Trey Ratcliff, Rafael “RC” Concepcion and Brian Matiash I have started to appreciate the technique more and more. I have come to understand that the HDR technique is a powerful technique to edit and enhance images without having to go over the top.
How to prepare for an HDR photo
If you view the various tutorials from Trey or RC you will see there are a few rules to prepare for a proper HDR photo to gain the best results:
- Take a series of photos in various exposures (bracketing);
- Use a tripod and a cable release to get ultra sharp images;
- Shoot in aperture priority mode to maintain same depth of field;
- Use a low ISO value to reduce the amount of noise;
- etc…
I have tried all of the above recommendations and it certainly results in an excellent baseline to start creating your HDR photo. However, we are not always in a situation we can use tripods or we simply did not shoot multiple exposures. How can we make the best out of creating an HDR photo without all that?
It is time to compromise
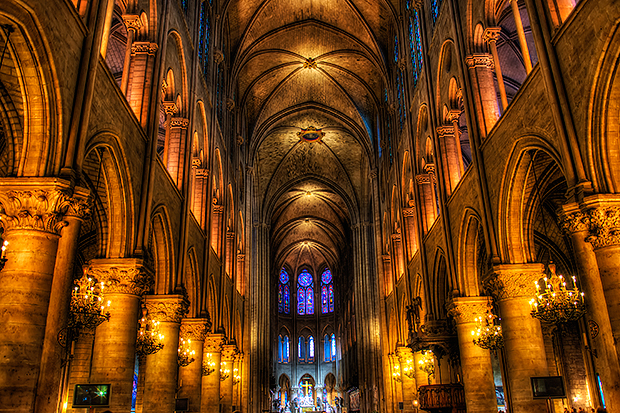
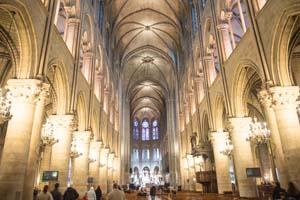
A few weeks ago I was in Paris and I visited the Notre Dame church. It is a beautiful spacious church with massive stone walls and a lot of decorative elements. Ideal for an HDR photo!
You are not allowed to use a tripod or flash inside the Notre Dame. The available light is very low, which makes it close to impossible to make a hand-held shot with some decent sharpness without sky rocketing the ISO to 6400 or above. I still wanted to create an as-good-as-possible photo, so I had to compromise.
The below photo was shot hand-held with a wooden divider wall as a stabilizer at 1/6 sec with f/2.8 on ISO 800.
Obviously I would have preferred to have a longer shutter time, a larger aperture value and a lower ISO value whilst shooting on a tripod. The distance from me to the entire scene was large enough to get away with an aperture of f/2.8 to gain maximum light on the sensor with maintaining sharpness from front to end. The slightly higher ISO value of 800 gave me eventually a shutter time of 1/6 sec which was short enough to make the shot hand-held with the stabilizing help of the wooden divider wall. Creating multiple exposures would have given me unaligned images which never align up very well with maintained sharpness is my experience, so I needed to work with the single image I shot.
Creating an HDR photo from a single exposure image
With the image open in Adobe Camera Raw I edited the image as I would do with any other, with exception of the exposure slider. When all the adjustments had been made I saved seven .tif copies of the image with different exposures, ranging from -3 to +3, from very dark to very bright.
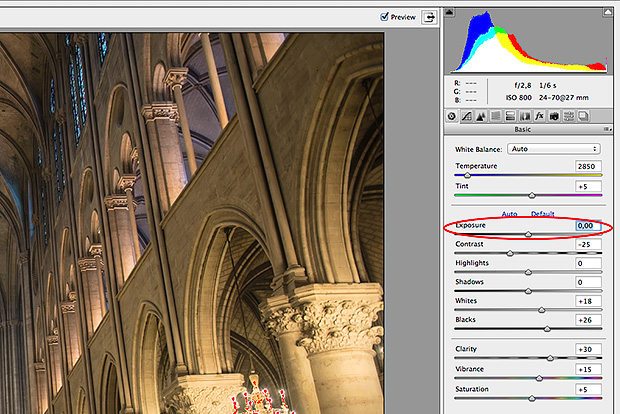
In this way you basically create your own series of multiple exposures. Remember that the best result is received if you shoot in RAW to have maximum flexibility. Here are the output examples:
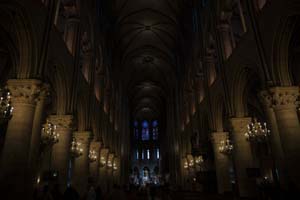
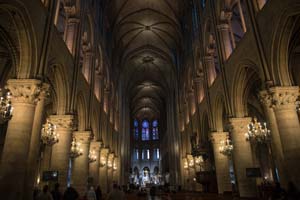
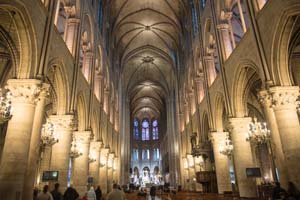
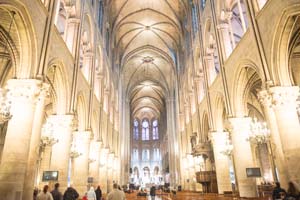
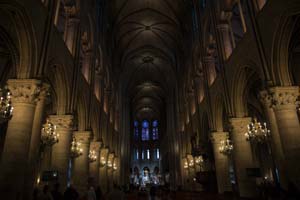
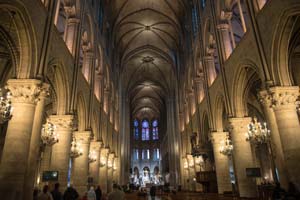
I than opened all seven images in Photomatix Pro to do the tone-mapping. You can also use any other HDR software, such as Adobe’s own HDR Pro or Nik Software’s HDR Efex Pro 2. Be ware though that every program creates its own style of HDR. For this photo I liked Photomatix Pro the best.
For the rest you apply the normal work-flow as with any other HDR photo. You tweak the various sliders in the HDR software until you get the desired result, than save your file and, if necessary, further enhance the image in photo editing software.
For this image I used Adobe Photoshop to crop, make adjustments to the curves and brightness/contrast, applied some additional effects using Nik Software’s Color Efex Pro and finally added some sharpness.
Is this photo the perfect HDR photo? Definitely not! But is the best I could get out of the circumstances and create an HDR photo from a single exposure image.
Further reading
If you want to read more about HDR photography I can really recommend the video tutorials from Trey Ratcliff or “The HDR Book” by Rafael “RC” Concepcion. Have fun!


Recent Comments